Mounting them to a Desmond Mini Dual Camera Bracket, it is easy to set them up for 3D stereo photography. The stereo distance becomes about 120mm here, which is a bit wide, but quite usable:
I chose a black and red camera. This makes it easy to remember to put the red camera on the left side.
Also note the Nikon ML-L3 IR remote in the foreground. It is crucial for the 3D photos, as it is important to trigger both cameras at the same time.
On the front of the cameras, you'll note the black IR receiver ports, on the lower, left side of the lens. To trigger the cameras, you'll need to hold the IR remote in the front of them, so that it points at both cameras at the same time.
For the remote to work, you must set the remote trigger drive mode. Press the self timer button (left on the four way controller), and then select the remote trigger drive mode, on the bottom of the menu:
The remote triggers both the autofocus and then the shutter. As the focus can randomly take a different time with either camera, this can lead to slightly different timings of the images, which is frustrating. So probably it is best to pre-focus, and then select manual focus, for the most synchronized images. However, going back and forth between AF and MF with these cameras is a bit tedious, so mostly, I just leave them at AF and hope for the best.
I found that making sure the remote battery was fresh was crucial for better timing of the image pairs.
An alternative setup is to mount them skewed on the bracket:
This is good in the sense that the stereo base becomes narrower, closer to that of the human head. On the other hand, the focus distance becomes slightly different. Unless you are taking closeup pictures, the different focus distance is hardly an issue, though.
With this configuration, the stereo base is about 8cm, slightly larger than that of the typical human head. A rule of thumb is that the stereo distance should be about 1/30th of the focus distance. Hence, this setup is good for distances of about 2.4m, i.e., typical people group photos with the wide angle lenses.
Example picture
Here is a pair of example images:
Left
|
Right
|
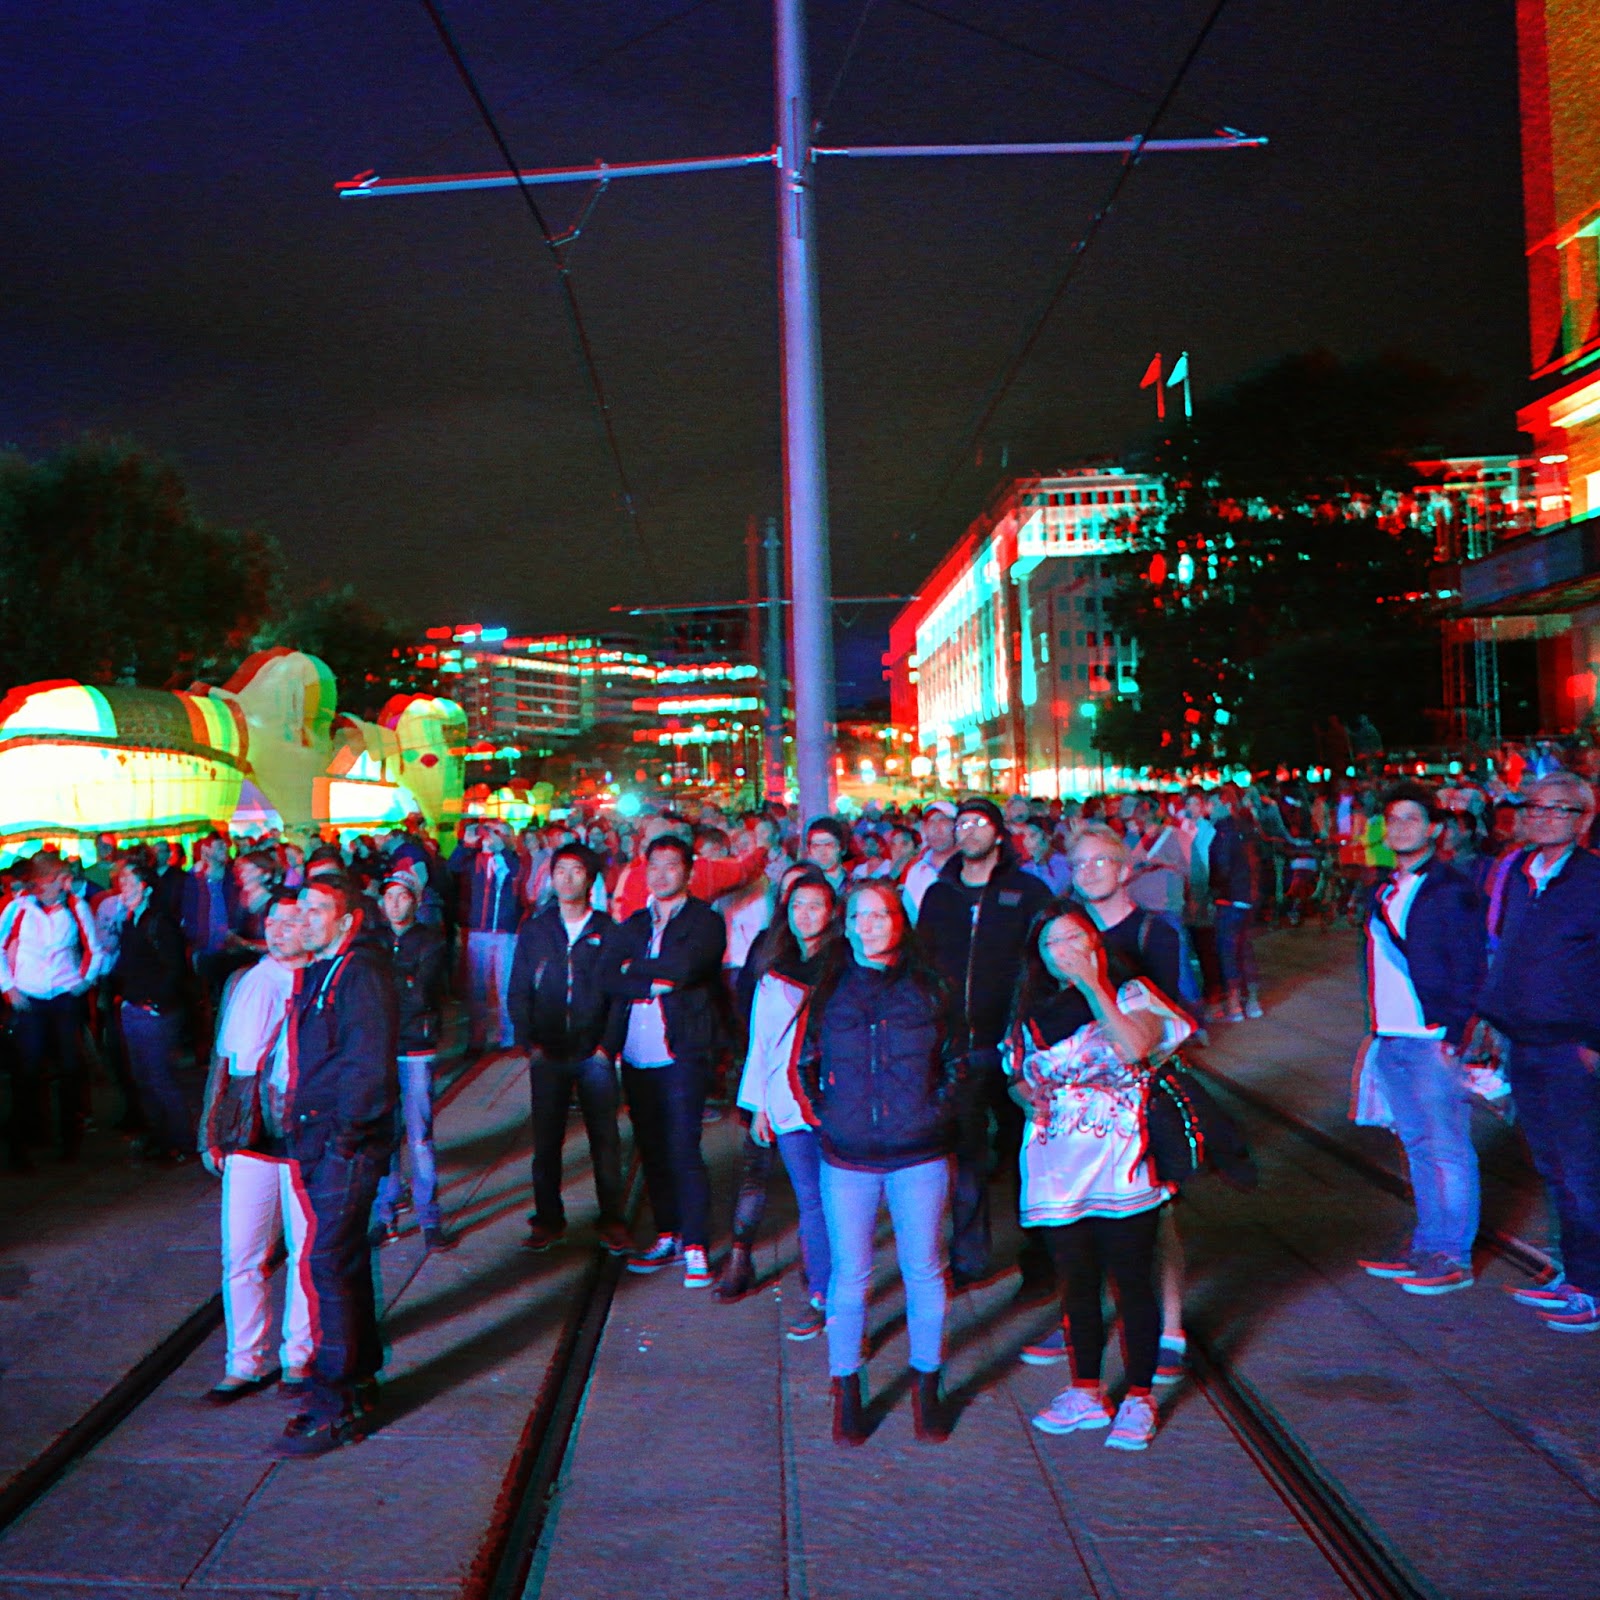
Using the Gimp plugin "script-fu-make-anaglyph", I made the pair into a 3D anaglyph:
This picture must be viewed using red/cyan anaglyph glasses.
Example video
Setting the mode dial to the "movie camera" symbol, the remote will trigger the start and stop of video recording.
It appears that this is easier to time, as there is no autofocus process before the start of the video recording. This makes 3D video recording more frustration free, as the two video streams tend to be more synchronized.
Here, I have combined the left and right videos into one 3D video. Again, depending on your Youtube viewing preferences, you probably need red/cyan glasses to see it:
The way to upload 3D video to Youtube, is to mix both streams together. This is done by compressing both the left and right streams horizontally, and placing them left and right, respectively, in the video frame. So half of the horizontal resolution is lost in this process, with each stream becoming 960x1080 pixels.
Here is what one frame looks like:
For viewing, Youtube decompresses each frame, colours them appropriately, and merges them into one frame. It can also interact with a 3D display, if you have such a fancy piece of hardware.
Conclusion
Having two identical cameras makes it easy to create 3D pictures and videos. However, triggering both cameras at the same time is not frustration free. If the cameras had a wired remote possibility, perhaps it would be easier.
Also, there is a bit of post processing required, before you can actually view the 3D output.


Wow, so nice!!
ReplyDeleteAnd I have the same red N1J1 too. :)